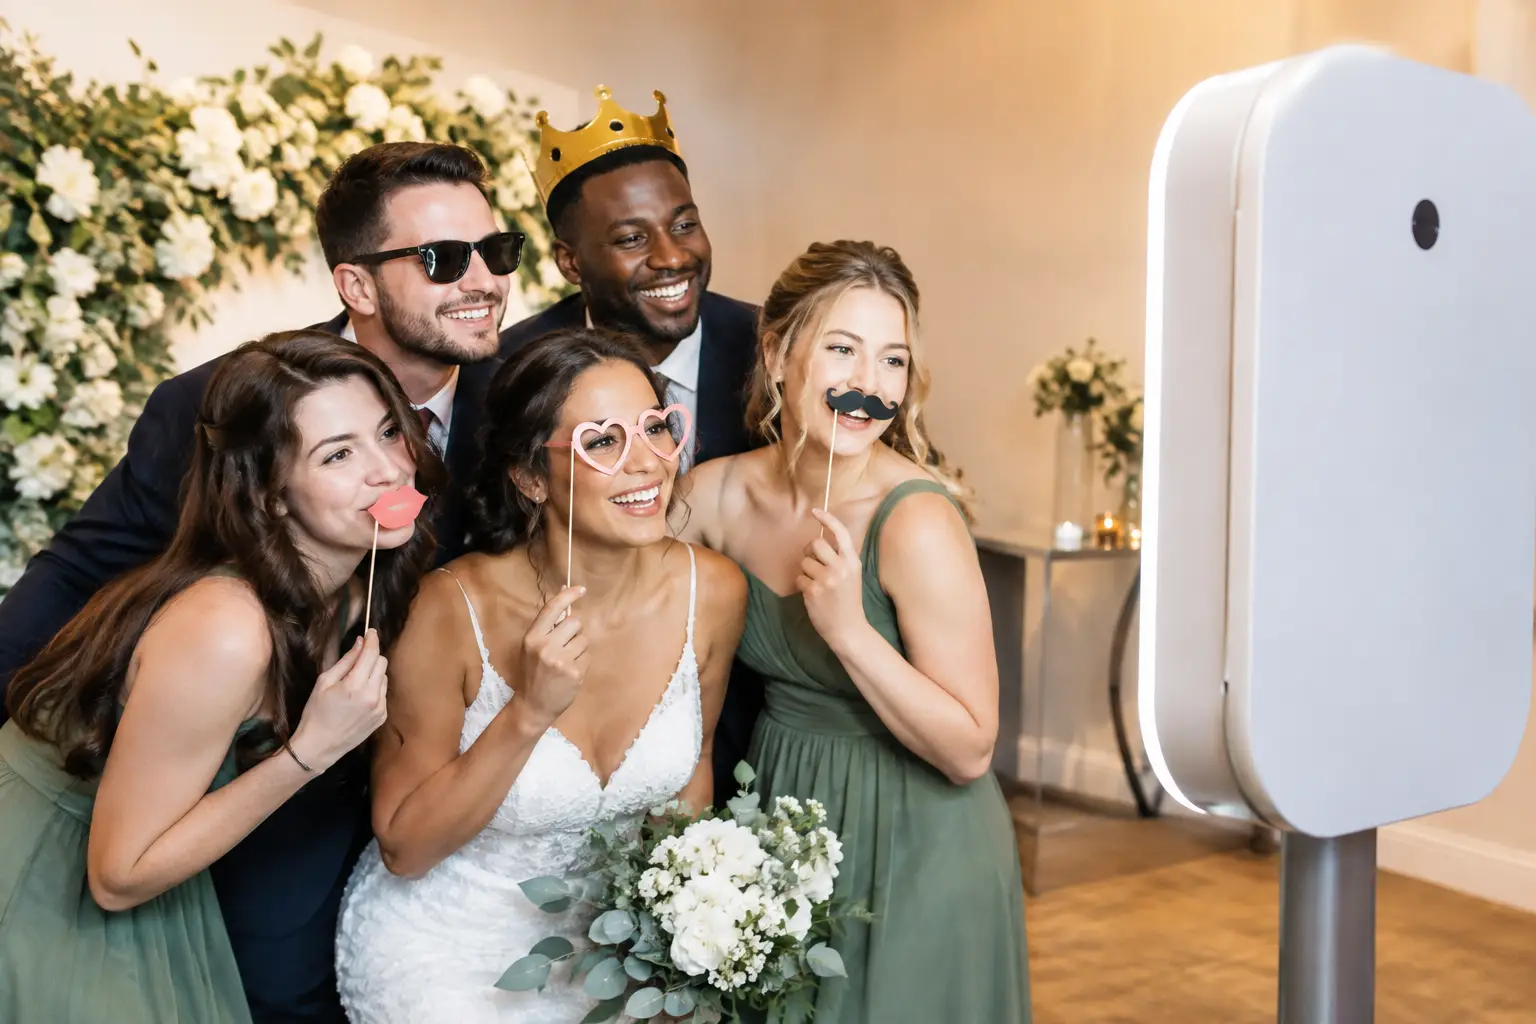
The first dance ends, the DJ opens the floor, and suddenly every guest is ready to celebrate. That is the moment a photo booth earns its place at a wedding. This wedding photo booth timeline guide helps couples plan booth hours around the real rhythm of a reception, so the experience feels lively, looks polished, and captures more than a few rushed photos between formalities.
A great booth does not need to run for every minute of the wedding day. It needs to be open when guests have time, energy, and a reason to jump in together. For most Southern California weddings, that means building the rental around the reception rather than the ceremony, cocktail hour, or dinner service.
Start With a 60- to 90-Minute Setup Window
Professional photo booth setup should happen well before the first guest arrives at the reception. Plan for at least 60 minutes, and ideally 90 minutes when access is limited, the venue is large, or the booth includes a green screen, custom backdrop, or 360 experience.
This time is not part of the fun rental window. It is the behind-the-scenes work that protects it. Your attendant needs room to position the booth, test lighting, connect power, organize props, review the custom photo template, and make sure the setup looks intentional in the space.
Ask your venue when vendors can load in and whether there are stairs, elevators, parking restrictions, or specific pathways for equipment. Los Angeles and Orange County venues can vary wildly, especially historic properties, hotels, rooftops, private estates, and venues with tight loading zones. A beautiful booth experience starts with enough time to build it correctly.
The Best Wedding Photo Booth Timeline Guide Starts After Dinner
For a standard reception, the sweet spot is usually a three- to four-hour photo booth rental beginning after dinner, around the time open dancing starts. Guests are dressed, relaxed, and no longer balancing a plate or watching a scheduled toast. The booth becomes an easy destination between songs, conversations, and trips to the bar.
A four-hour booth window often works beautifully from about 8:00 p.m. to midnight. The exact times depend on your reception schedule, but the goal is simple: open after the major formal moments and keep the booth available through the high-energy portion of the party.
Starting too early can mean a quiet booth while guests are at cocktail hour, finding their tables, eating, or listening to speeches. Starting too late can mean missing the grandparents, parents, and early-departing guests who would have loved a photo strip with the newlyweds. The right timeline covers both groups.
A strong four-hour reception schedule
Here is how a typical photo booth flow can work without competing with the rest of the night:
- 7:00 p.m.: Booth is fully set, tested, and ready while dinner begins.
- 8:00 p.m.: Booth opens after dinner or immediately following the first dance.
- 8:30 to 10:30 p.m.: Prime photo time, when the dance floor is active and guests are most likely to make repeat visits.
- 10:30 p.m. to midnight: Late-night group shots, funny prop photos, and the “we need one more” crowd.
If your reception ends earlier, shift the window forward. If you are planning an after-party or a late-night exit, consider extending service. The key is to pay for active booth time, not idle time.
Should the Booth Be Open During Cocktail Hour?
It depends on your guest count, venue layout, and priorities. Cocktail hour is a great time for candid mingling, but it is not always the strongest period for a photo booth. Guests may be visiting the bar, enjoying appetizers, locating seating, or waiting to greet the couple.
There are exceptions. If the ceremony and reception are in the same location and the cocktail hour lasts 90 minutes, opening early can give guests something fun to do while the wedding party takes portraits. It can also work well for a wedding with a long gap between ceremony and dinner, or for couples who want a guest book filled early in the evening.
For most receptions, however, it is smarter to have the booth set up during cocktail hour and open later. Guests get the visual excitement of seeing it, while your paid hours are saved for the party.
Match the Booth Style to Your Reception Timeline
The booth type affects where it fits and how guests use it. An open-air booth is ideal when you want big group photos, a custom backdrop, and a setup that becomes part of the room’s visual energy. It works especially well near a dance floor, lounge area, or bar, where guests naturally circulate.
An enclosed booth brings a more private, nostalgic feel. It can be a hit with guests who want silly, unfiltered photos away from the spotlight. Because it has a more defined footprint, placement matters. Give it enough space for a line without blocking dinner service or exits.
Green screen booths are made for couples who want a custom world behind every photo, from a glamorous Hollywood-inspired scene to a destination backdrop that matches the wedding design. Build in extra setup and testing time, particularly if the venue has difficult lighting.
A 360 booth creates video content rather than traditional still-photo strips, so it deserves room, clear traffic flow, and a moment when guests are ready to perform. It is often strongest during open dancing, not during a quiet dinner. If you want both printed keepsakes and high-energy video, consider how each activation will fit without splitting your crowd.
Place the Booth Where the Party Can Find It
A photo booth hidden down a hallway will not get the same use as one placed where guests already want to be. Near the dance floor is usually a winning choice, but avoid putting it so close that speakers overpower the attendant or people cannot hear the booth prompts.
The best location is visible from the main reception area, has a clean background or room for one, and leaves space for a small line. It should also have access to reliable power and be protected from outdoor weather if your wedding includes a patio, garden, or poolside reception.
If you are hosting an outdoor Southern California wedding, have a backup plan for wind, heat, and unexpected evening moisture. Shade and stable flooring matter. A premium booth with great lighting can create beautiful images outdoors, but conditions need to support the equipment and guest comfort.
Do Not Schedule It Against Your Biggest Moments
A booth should support the reception, not compete with it. Keep it open during dancing, but briefly pause or redirect guest attention during key moments like the first dance, parent dances, speeches, cake cutting, and any cultural traditions that bring everyone together.
You do not necessarily need to close the booth for each formal event. An experienced attendant can manage the flow while the booth remains available. Still, if you want every guest watching a surprise performance or a grand exit, let your DJ and booth team know in advance. Coordination prevents a busy photo line from pulling attention at the wrong time.
Your photographer and videographer should know where the booth will be, too. A booth can become a fantastic source of candid guest content, but it should not block their view of the dance floor or create clutter behind important portraits.
Build a Timeline That Includes the Couple
Couples often spend the entire reception being pulled in different directions, then realize at the end of the night that they never took a single booth photo together. Put a quick booth visit on the timeline.
A good moment is just after the first dance, when the couple is already on the floor and guests are energized. Another option is a five-minute visit after cake cutting, before the late-night rush. Take one photo with the wedding party, one with parents or grandparents, and one just the two of you. Those images often become favorites because they show the joy of the night without the formality of portrait time.
If you are creating a photo guest book, ask a trusted friend, planner, or attendant to encourage each group to leave one printed copy and a note. Do not assume guests will remember while they are in party mode.
Custom Details Need Early Decisions
Your photo template, backdrop, and prop selection should feel connected to the wedding, not like an afterthought. Decide on names, date format, colors, monogram, and any special artwork early enough for the design to be reviewed before event week.
Keep the template readable. A tiny logo, a wedding date, and a clean color palette will age better than a crowded design. For black-tie receptions, a refined template and elevated backdrop can make the photos feel editorial. For a colorful garden party or a Hollywood celebration, lean into personality. The best choice is the one that fits your event, not the trend of the moment.
Flash Life Photo Booth brings the lighting, customization, props, and trained on-site support that help these details feel effortless once the doors open. But even the best equipment performs better with a thoughtful event timeline behind it.
Give Your Guests One Clear Invitation
Guests use what they notice. Ask your DJ or emcee to announce the booth when it opens, especially if it is tucked to one side of the room. A simple mention – “The photo booth is open, grab your crew” – is usually enough to start the first wave.
After that, the energy takes over. Once a few groups walk away with great photos, other guests follow. Plan the booth around your real party hours, give the team time to set up beautifully, and make sure you step in for a picture yourselves. Your future selves will be glad you did.
Leave a Reply