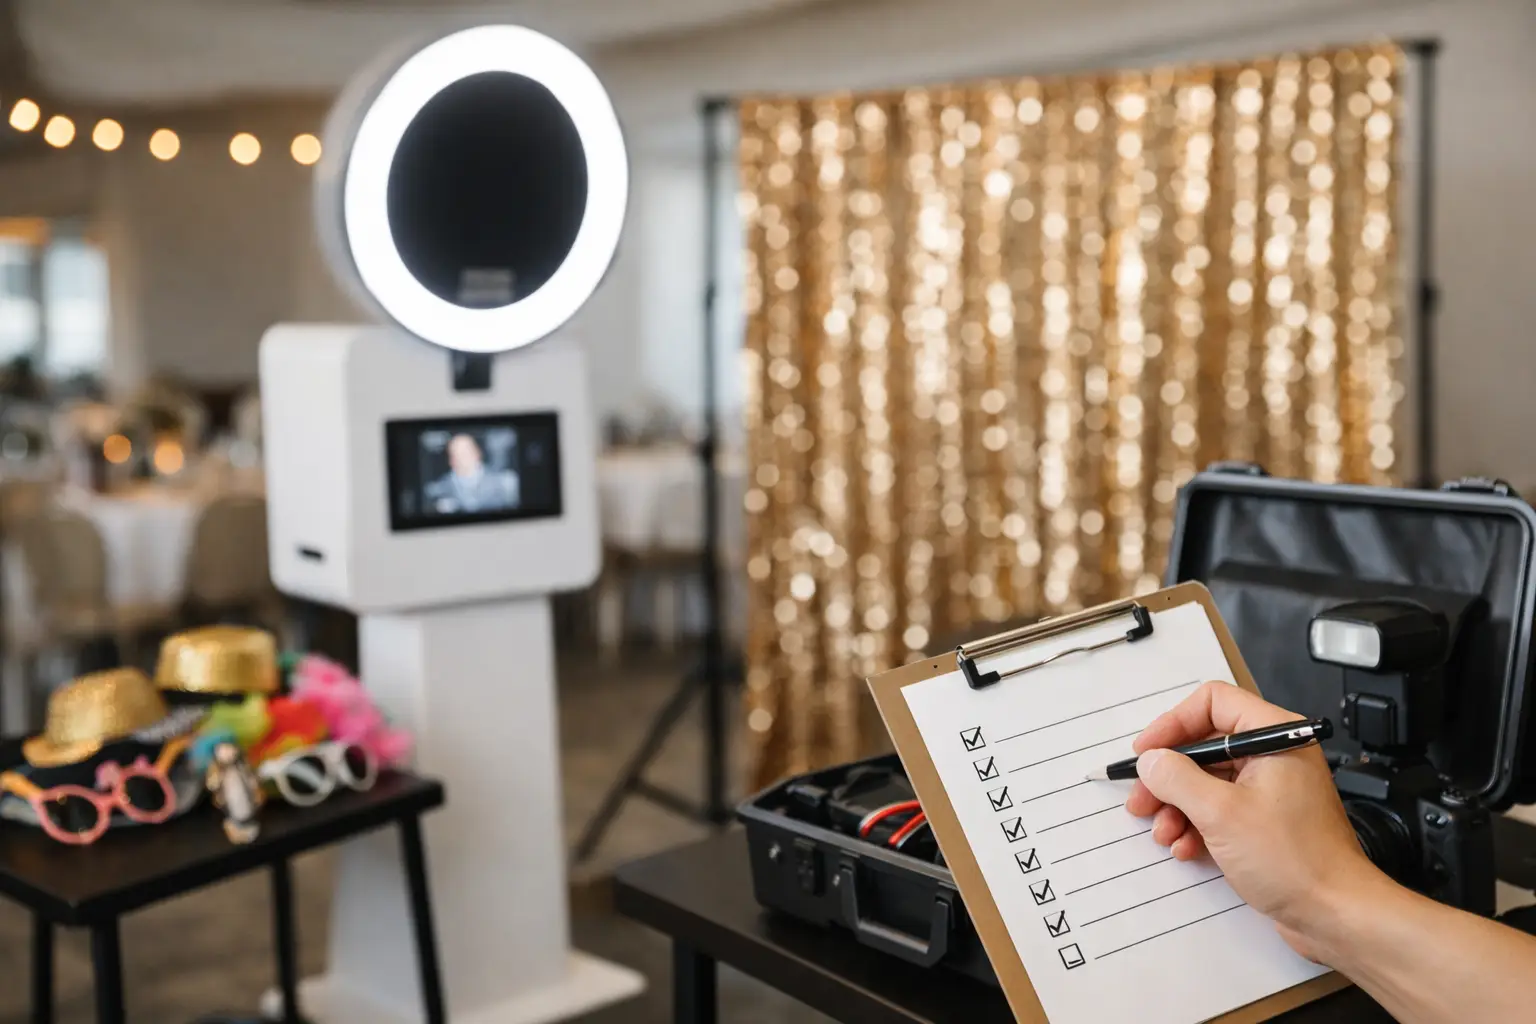
A photo booth that looks amazing on Instagram can still flop in real life if the setup is off by a few feet, one missing outlet, or a bad traffic pattern. That is why a smart photo booth setup checklist matters so much. The booth itself gets the attention, but the setup is what makes the experience feel easy, polished, and genuinely fun for your guests.
If you are planning a wedding, birthday, school event, or branded activation in Los Angeles or Orange County, setup details are not small details. They shape the line length, photo quality, guest participation, and how smoothly the night runs. A strong booth experience should feel exciting, not cramped, delayed, or thrown together.
Why your photo booth setup checklist matters
Hosts usually focus first on the booth style. That makes sense. Open-air booths create a social, high-energy look. Enclosed booths add privacy and a nostalgic feel. Green screen setups bring in custom branding and themed backdrops. A 360 booth changes the whole vibe and becomes more of a live attraction.
But the right booth can still underperform in the wrong spot. A glamorous wedding booth loses its magic if guests are packed shoulder to shoulder near a service hallway. A corporate booth with custom branding misses the mark if the backdrop is wrinkled, the lighting is flat, or the line blocks sponsor signage. Setup is where good ideas either become a standout event feature or turn into one more thing the planner has to troubleshoot.
Start with the footprint, not just the booth
The first thing on any photo booth setup checklist should be space. Not just the dimensions of the booth itself, but the full operating footprint. That includes room for the backdrop, lighting, printer station if included, props table, attendant movement, and guest line.
This is where many event layouts go sideways. A booth may technically fit in an eight-by-eight area, but that does not mean it will function well there. Open-air booths usually need more breathing room so larger groups can step in comfortably and the camera can frame everyone cleanly. Enclosed booths may take less visible space, but they still need room for entry, exit, and guest circulation.
At weddings and private parties, placing the booth near the main action often boosts participation. At corporate events, visibility can be great for brand exposure, but too much congestion near registration or bar service can create a traffic problem. It depends on the event flow. The best placement feels easy to find without interrupting everything else.
Think about guest traffic
A booth works best when guests can approach it naturally. Corners can be great if they still feel inviting. Dead-end spaces usually are not. If guests have to squeeze past catering staff, DJ equipment, or banquet chairs just to get a photo, usage drops.
You also want enough space for people to watch. One reason open-air booths perform so well is that they create energy around them. People see friends taking photos, laugh at the props, and want in. If the booth is hidden too well, that momentum disappears.
Power should never be an afterthought
A professional booth setup lives or dies by reliable power. Cameras, lighting, printers, monitors, sharing stations, and 360 equipment all have different power needs. The cleanest-looking setup in the room is useless if the nearest outlet is across the dance floor.
Your venue should confirm where dedicated outlets are located and whether they can handle the booth equipment without sharing heavily with bands, DJs, catering gear, or production lighting. In higher-end venues and larger activations, this matters even more because multiple vendors may be pulling from the same areas.
Extension cords can help, but they should never become a visual mess or a safety issue. Good setup planning hides cords, secures pathways, and avoids last-minute improvising. If an event is outdoors, power planning gets even more important. Weather, distance, and surface conditions all affect what is realistic.
Lighting can make or break the photos
This part gets overlooked all the time. People assume a booth brings its own lights, so the room lighting does not matter. It still matters. Built-in booth lighting is designed to flatter guests, but strong colored uplighting, dim amber ballroom lighting, direct sun, or mixed lighting can all affect the final result.
The ideal booth location avoids harsh backlighting and strange color casts. If the event is outdoors, timing matters. Late afternoon can be beautiful, but direct sunlight can create exposure challenges and make guests squint. Nighttime setups need enough surrounding visibility for comfort, even if the booth itself is properly lit.
For premium-looking images, the booth should sit where the lighting can work with the environment, not fight it. That is especially true for branded events and weddings where people expect photos they actually want to save and share.
Match the setup to the booth type
Not every photo booth setup checklist looks the same because not every booth behaves the same way. That is where experience really shows.
Open-air booths
Open-air setups are flexible and social. They are excellent for group shots, custom backdrops, and events where you want the booth to be part of the room’s energy. They do, however, need enough distance from the camera to the guest area and enough width for people to gather without blocking surrounding activity.
Enclosed booths
Enclosed booths create a more private experience, which many guests love. They can work well in tighter layouts, but they still need enough surrounding space so guests can queue comfortably and the booth does not feel jammed into a corner.
Green screen booths
Green screen setups need extra attention to lighting and spacing. The effect only looks polished when the background is evenly lit and the guest area is positioned correctly. If the setup is rushed or squeezed, the illusion falls apart fast.
360 booths
A 360 booth is less like a standard booth and more like an attraction. It needs a safe operating perimeter, a strong floor surface, and clear crowd management. These setups can draw major attention, which is great for energy, but they need room to do it well.
Don’t forget the guest experience around the booth
The booth area should feel like part of the event, not a technical station dropped into the room. That means thinking about what guests see before they step in and what happens right after they leave.
Props should be accessible but not chaotic. Signage should be clear without looking cluttered. If prints are part of the package, there should be a natural spot for guests to collect them without piling up in front of the camera. If digital sharing is offered, it should not slow down the next group.
An on-site attendant makes a big difference here. They keep the pace moving, help guests feel comfortable, reset props, answer questions, and make sure the booth stays camera-ready all night. For upscale events and high-visibility activations, that level of support is not an extra. It is part of what makes the experience feel polished.
Venue rules can change the whole setup
Some venues are booth-friendly. Others come with real restrictions. Load-in times, elevator access, parking, carpet protection, power usage rules, outdoor limitations, and insurance requirements can all affect what is possible.
This is one of those areas where early communication saves major headaches. If your venue only allows a short setup window, the booth team needs to know. If the event is on a rooftop, beachside patio, or historic property, access and surface conditions may shape what booth type makes sense.
A good plan is never just about what looks best online. It is about what will operate cleanly in the actual venue, with the actual schedule, under real event-day conditions.
A practical photo booth setup checklist before event day
Before your event, confirm the booth type, setup footprint, outlet location, load-in details, lighting conditions, and guest traffic plan. Make sure the backdrop or booth style fits the event design. Check whether props, prints, digital sharing, branding, and staffing are included. If the booth is outdoors, confirm weather backup options.
Just as important, know who is responsible for what. Some rental companies drop off equipment. Others handle the full experience with delivery, setup, operation, and breakdown. For hosts who want one less thing to manage, full-service support is usually worth it.
That is especially true for weddings, corporate events, and entertainment-industry functions where timing and presentation matter. A booth should add energy, not create another moving part for the planner to babysit.
The setup should feel invisible to guests
The best booth setups are the ones guests barely think about. They just walk over, look great, have fun, and leave with photos they love. That only happens when the planning behind the scenes is tight.
At Flash Life Photo Booth, that is the standard guests notice without always realizing why. The lighting flatters. The booth placement makes sense. The line moves. The prints look sharp. The whole thing feels easy.
When you are choosing a booth for your event, ask about setup with the same energy you bring to style and features. Great photos start before the first flash goes off.
Leave a Reply